
How To Do A DIY Facial For Your Nerdie Night In
If we were all Kardashians, we would be going for facials at the drop of a glamourous beret, and more for the relaxation element than anything. However, sometimes time and money doesn’t stretch to that and there is no harm in taking matters into your own hands, literally, by getting your DIY facial technique down to an art form.
What is a facial?
The phrase “facial” is more of an umbrella term than anything, as each individual facial will serves a different purpose to the next. A shoe can mean a Louboutin or a Van, and we adore both Louboutins and Vans in Nerd HQ, but we know which one we’d be wearing to the farmers market and which one we’d crack out for a big date night.
A facial is simply a multi-modal, multi-step skincare treatment that works to assist the skin in all of its own vital processes and boost the appearance of the skin instantaneously.
The steps involved in your DIY Facial
Every facialist, even the at-home facialist, has their own technique, but for the most part, facials follow the same steps in the same or a similar order. Before you start, light some candles, mist some aromatherapy oils around and turn down the lights. Setting is key to feeling like you’re in a spa or salon!
Step 1: Precleanse
You Nerd Networkers don’t need us to preach on precleansing, but this is when we crack out a precleansing product alongside our Cleanse Off Mitt® for a super thorough precleanse that will get rid of every single tiny little bit of makeup, SPF and pollution particles.
Remove your makeup with your warm (not hot) Cleanse Off Mitt® and then apply your precleanse product. Massage it in, working from the centre of your face outwards like in facial massage and jade-rolling. Rinse and remove thoroughly with the other side of your Cleanse Off Mitt®. Pat your face dry very gently with a fresh towel, or you can technically leave it wet for the next step.
Step 2: Cleanse
Ah, the cleanse. There is something so satisfying about the humble cleanse. If you’ve been using active, exfoliating cleansers for a while now, you can go ahead and use your recommended active cleanser in this step. Do note, we will be exfoliating again after this, so if your skin doesn’t take too kindly to this much exfoliation, opt for a gentle, nourishing, everyday cleanser.
Massage it onto wet skin for a minute, as per the norm, and remove it thoroughly.
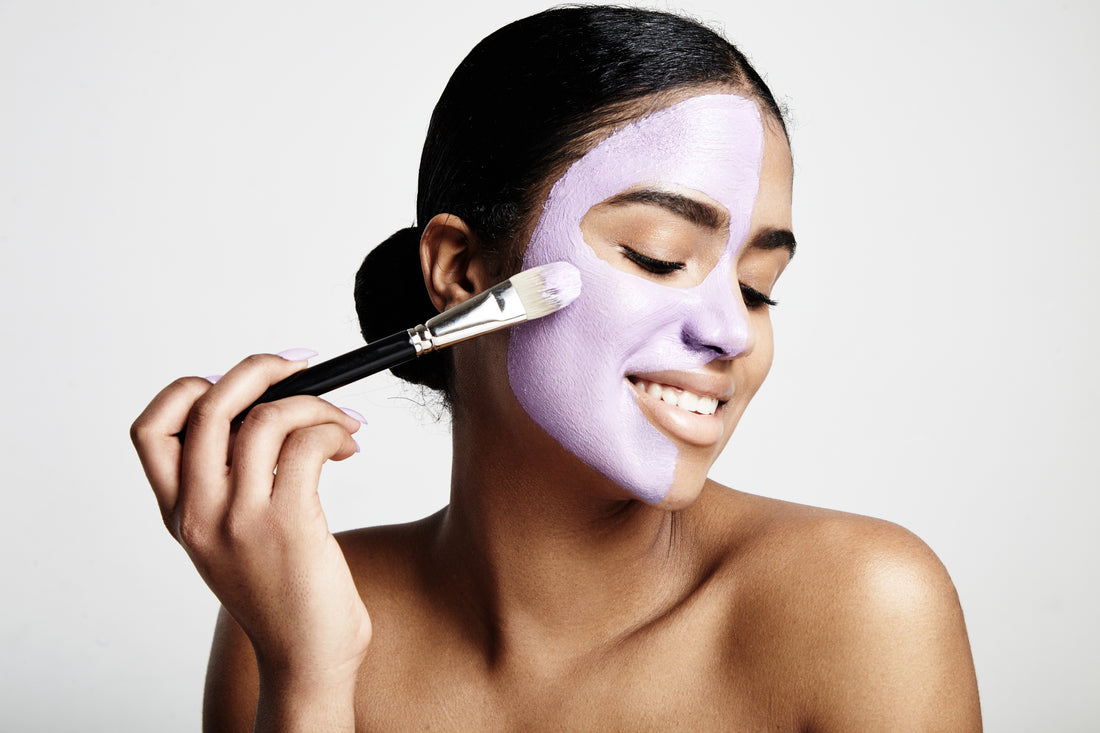
Step 3: Exfoliation/purification
Your skin is now clean, prepped and ready to be purified. For this step, you can opt for a clay mask, like the Caudalie Instant Detox Mask (€25.00) in our 3 for 2 Nerdie Night In deal, running until Monday, the 25th of February at 2pm (GMT), or an exfoliant like the Dermalogica Daily Superfoliant (€63.00).

The Caudalie Instant Detox mask is ideal for those who are congested, oilier or always in areas of pollution - we’re talking to you, city dwellers. It contains highly absorbent bentonite clay, mild exfoliant papain aka papaya enzyme and antioxidant coffee extract.
The Dermalogica Daily Superfoliant is super hydrating, and so is perfect for dehydrated, dry or mature skin due to the inclusion of enzymes and lactic acid.
If you have a more powerful exfoliating product in your arsenal, such as the Neostrata Glycolic Treatment Peel Kits (€60.00, down to €48.00), currently 20% off until Monday, the 25th of February, you can use this either but use a non-exfoliating cleanser in the previous step.
Use your chosen exfoliant as advised and remove it thoroughly with another damp Cleanse Off Mitt®. In a salon setting, you’d never use the same COM twice, nuh-uh.
Step 4: Facial massage
Depending on the type of person you are, you’ve either been excited to learn how to do this or absolutely dreading it. It’s easier than you’d think, especially if you are trying to keep it simple.
Your main goal is to apply enough pressure that you can feel it in the muscle without irritating your delicate skin. First, you need to warm up a facial oil or slippery serum in your hands and apply it your face. This will give you slip to massage your face without just pulling your nose over to your jawline.
Starting on your forehead, move from the centre out towards your temples and downwards. In terms of technique, for the most part, go for a rolling motion using the flat part of your finger just above the knuckle with your hands in a fist towards your face, moving one finger at a time. Don’t forget to continue down to your neck!
You could jade roll for this step either.
Step 5: Spritz O’Clock
Spritz O’Clock is a fabulous way to re-hydrate your skin throughout the day, but did you know that it is a key part of many facials too, as it helps the ingredients that come after to penetrate into your skin easily?

Take a wild guess at what we’re going to recommend here. The Yon-Ka Lotion Yon-Ka mists are what make a Yon-Ka facial a Yon-Ka facial - they’re in the 3 for 2 Nerdie Night In deal for this reason! Spritz thoroughly and allow the liquid to penetrate in for a moment.
Step 6: Hydration/nourishment
Time to blast your skin full of hydrating ingredients, vitamins and antioxidants. You have a few options for this step…
-
A nourishing masque: The Dermalogica Multivitamin Power Recovery Masque (€42.00) is full of vitamins A, C & E, and is one of the secrets behind the skin of Victoria Beckham and Amy Huberman.
-
A hydrating masque: The Yon-Ka Hydra No˚ 1 Masque (€46.80) not only hydrates like a champion but also helps to repair the skin with aloe vera and vitamins A, C & E.
- A hydrating sheet mask: The IMAGE I MASK Biomolecular Anti-Aging Radiance Mask (€11.50) contains hydrating and plumping hyaluronic acid as well as lots of botanical brightening ingredients. If you’re going for the sheet mask option, put your serums on first!
All of these delicious masques are in the Nerdie Night In 3 for 2 too! Pop your chosen masque on, leave it for half an hour, and remove it with a warm Cleanse Off Mitt®. If you’ve gone for the sheet mask, just tap the excess serum into your skin, don’t remove it!
Step 7: Serums
Glide your usual serums on, whatever they may be. It’s a pretty simple step so we won’t dwell on it.
Step 8: The final Spritz O’Clock
Finish with a final flourish of a Spritz O’Clock and you are done-diddly. If you’re heading out to a day event, don’t forget to pop your SPF on!
Check out all of our current specials to get your at-home facial kit ready for your next Nerdie Night In!
